欢迎大家关注我的以下主页,尤其是今日头条!!!谢谢🙏🙏🙏
csdn:雷园的csdn博客
个人博客:雷园的个人博客
简书:雷园的简书
今日头条:来自底层程序员的仰望
The first step is to download the latest version of sonarqube7.4
1.Official download address,Download community edition, is open source free.
2.I do not know what reason I download particularly slow on the official website, probably because of the lack of resources.So I put an alternate link here,Of course, this link is a resource link of CSDN, which requires a certain amount of credits.
3.Click the link above to follow my CSDN and Jane book, and send me the screenshot of the private letter for free download.
The second step, of course, is to unzip and start the service
- After decompression, as shown in the figure
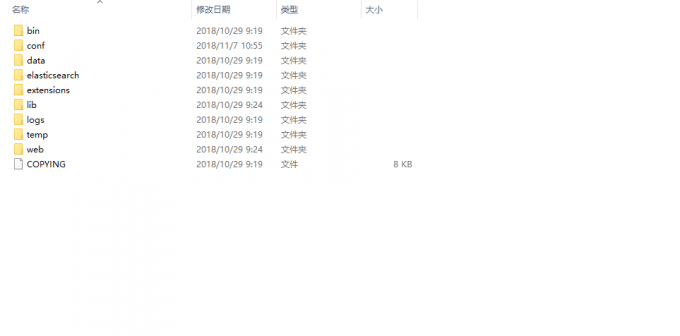
- Open the bin directory and select the appropriate folder for your current operating system
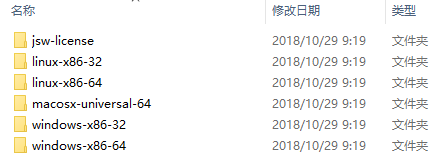
- Start the corresponding service initiator
Step 3 visit the sonar server through a browser
1.Open your browser and go to http://locathost.com :9000.
2.Click the login button on the right to log in. The default account password is admin。
3.This is the completion of service startup。
The fourth step is configuration
-
Open the configuration file, which is located in conf under the sonar directory, open the sonar. Properties file and add the following code
sonar.jdbc.url=jdbc:mysql://your_mysql_host:3306/sonar?useUnicode=true&characterEncoding=utf8&rewriteBatchedStatements=true&useConfigs=maxPerformance sonar.jdbc.username=your_username sonar.jdbc.password=your_password sonar.sorceEncoding=UTF-8 sonar.login=sonar的默认登录用户名为admin sonar.password=sonar的默认登录密码为admin -
Configure maven, open maven’s setting.xml file, find the node and add the following code to the node.
        <profile>
            <id>sonar</id>
            <activation>
                <activeByDefault>true</activeByDefault>
            </activation>
            <properties>
                <sonar.jdbc.url>
                    jdbc:mysql://your_mysql_url:3306/sonar
                </sonar.jdbc.url>
                <sonar.jdbc.driver>com.mysql.jdbc.Driver</sonar.jdbc.driver>
                <sonar.jdbc.username>your_mysql_username</sonar.jdbc.username>
                <sonar.jdbc.password>your_mysql_password</sonar.jdbc.password>
                <sonar.host.url>http://your_sonar_host:9000</sonar.host.url>
                <!-- your_sonar_host是你的服务器地址,如果你的服务在本机则使用localhost -->
            </properties>
        </profile>
Step 5 open the project and check the code
- If you are using idea, just follow the following picture

2.If not, go to the project root directory and use the shell tool to enter the MVN command shown above
Step 6 is to see the results
-
After the command runs, you can view the progress in the server and open http://localhost:9000 to enter the server. Follow the steps in the figure below.

-
Next, you can freely check your own code bugs, vulnerabilities, odors. Adjust your code!!!